|
<< Click to Display Table of Contents >> Ground objects |
  
|
|
<< Click to Display Table of Contents >> Ground objects |
  
|
See also: Near shadings, general organisation.
In the near shadings, you can create ground objects which are very specific because they will not create any shadow by default. To allow a ground object to cast shadows, please refer to section Partial shadings and calculations.
There are two ways of doing so : Import an Helios 3D scene or Create a Ground object.
Both methods create the same kind of object and you can therefore edit them the same way.
To edit a Ground object, you can :
- Double-click on it in the global scene
- Select it and press Ctrl + M
- Select it and use the menu : Object > Modify
The following window appears when editing a Ground object.
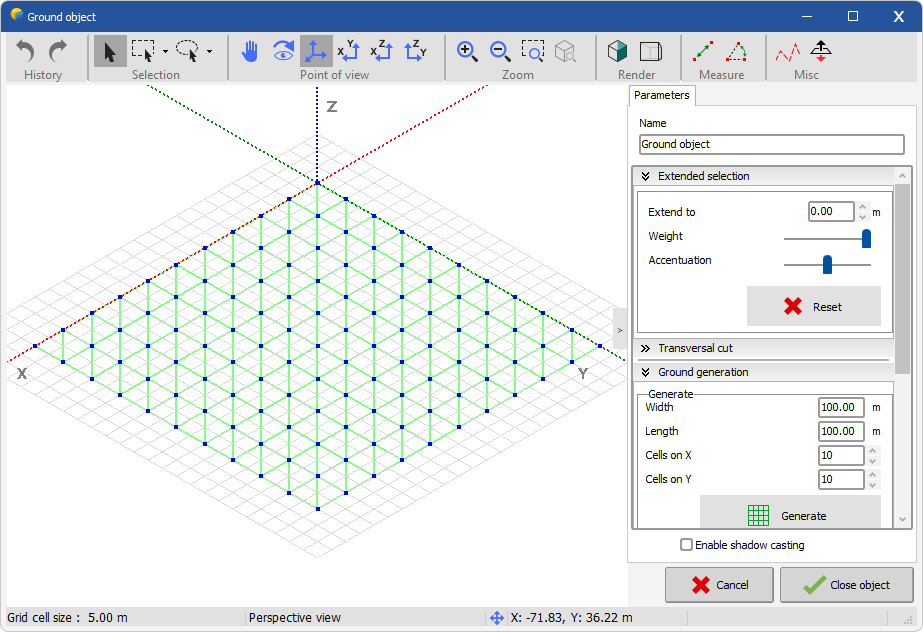
A Ground object is a mesh of points, which means that all the building process will only manipulate points.
Scene tools
![]() Choose this tool to select individual points. Use Shift key to add or remove points from your current selection.
Choose this tool to select individual points. Use Shift key to add or remove points from your current selection.
![]() Choose this tool to select points by drawing a rectangle on the scene. Use Shift key to add or remove points from your current selection.
Choose this tool to select points by drawing a rectangle on the scene. Use Shift key to add or remove points from your current selection.
![]() This tool allows you to draw a transversal cut on the scene in order to view it on the right panel.
This tool allows you to draw a transversal cut on the scene in order to view it on the right panel.
![]() This tool allows you to invert the faces normals.
This tool allows you to invert the faces normals.
Panels
Ground generation
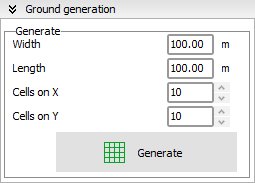
The "Ground generation" panel defines the ground dimensions and the complexity of the mesh. Clicking on the "Generate" button will remove the current ground and replace it with the new one.
Selection position
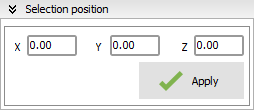
This panel allows you to move the points you selected to a given position. Each point will remain at the same distance to the other points, this panel will just slide the whole selection as a whole.
Extended selection
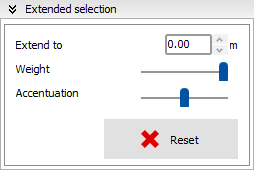
This panel allows you to extend your selection. You can specify 3 parameters :
Extend to : this will select the points around your current selection up to the given distance
Weight : this will decrease the selection weight on new points depending on their distance with the current selection
Accentuation : this will alter the weight in a parabolic way so that closer points will weigh more while further points will weigh less
Transversal cut
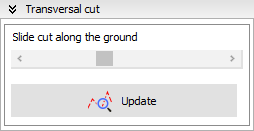
You can use the slide bar to move the transversal cut along its normal axis.
The button sets the point of view to see the transversal cut from the side.
Moving a selection of points
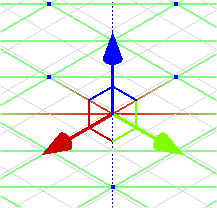
Once you selected one or more points, you will be able to move them directly on the scene. In order to do it, this 3-axis tool will appear.
You can either click on one axis or on the area between two axis to start dragging the points on these axis.
While moving points, you can see the current coordinates in the "Selection position" panel.